Case for Raspberry Pi 1 Model B Made out of Lego Bricks
This post was originally published with group of several versions of Raspberry Pi Lego Cases. On 2019 12-22 It has been separated out and updated to reflect newly added info and alternative pictures.
I originally delved into the Raspberry Pi world in May of 2013. I had just taken an embedded systems class in my previous semester and was very interested to continue studying the topic in a simple way. The Raspberry Pi is a miniature single board computer that has input and output like a normal computer like USB, Ethernet, HDMI, etc. The thing that a Raspberry pi does not have is an enclosure. The computer is shipped with only the circuit board. This led me to design my own enclosure. I have come up with three designs I built around the different types of Raspberry Pi computers
Case for Raspberry Pi 1 Model B

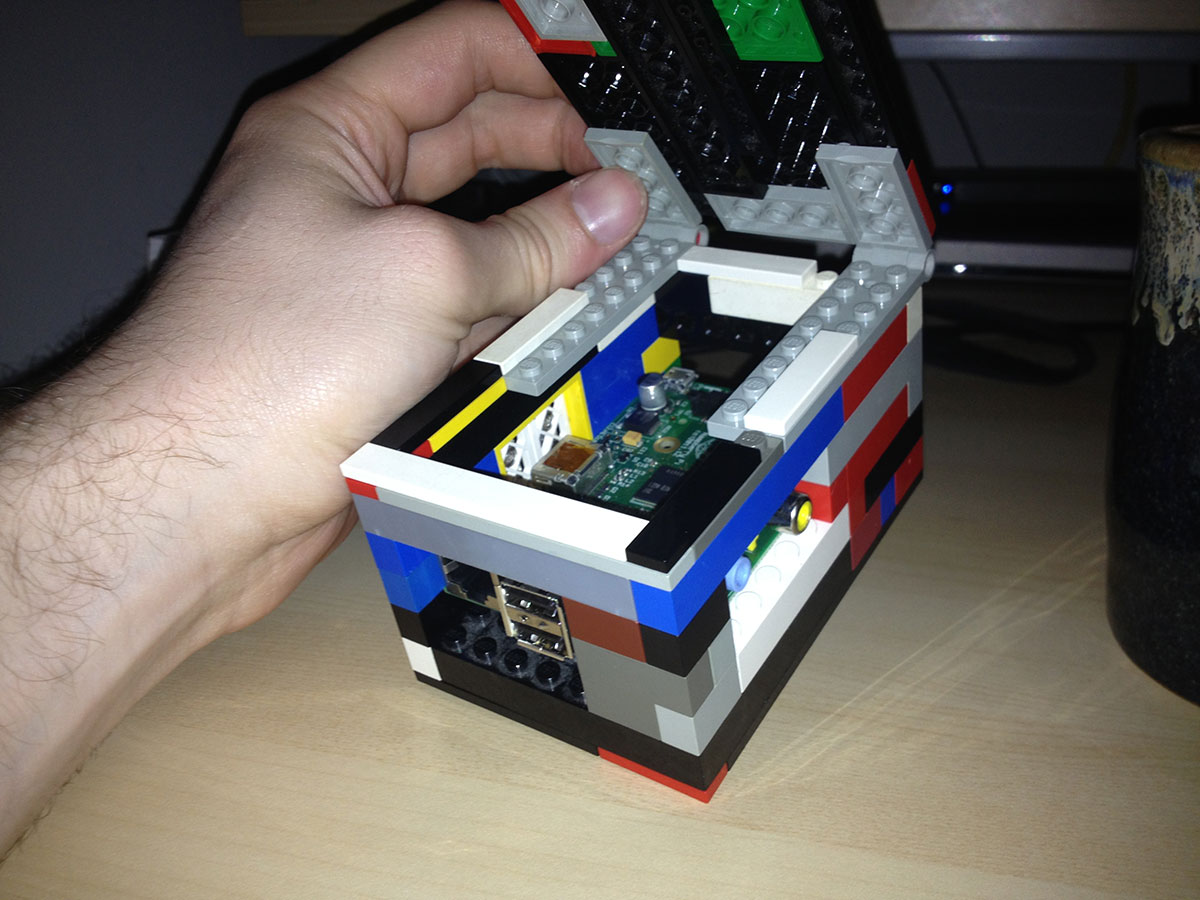
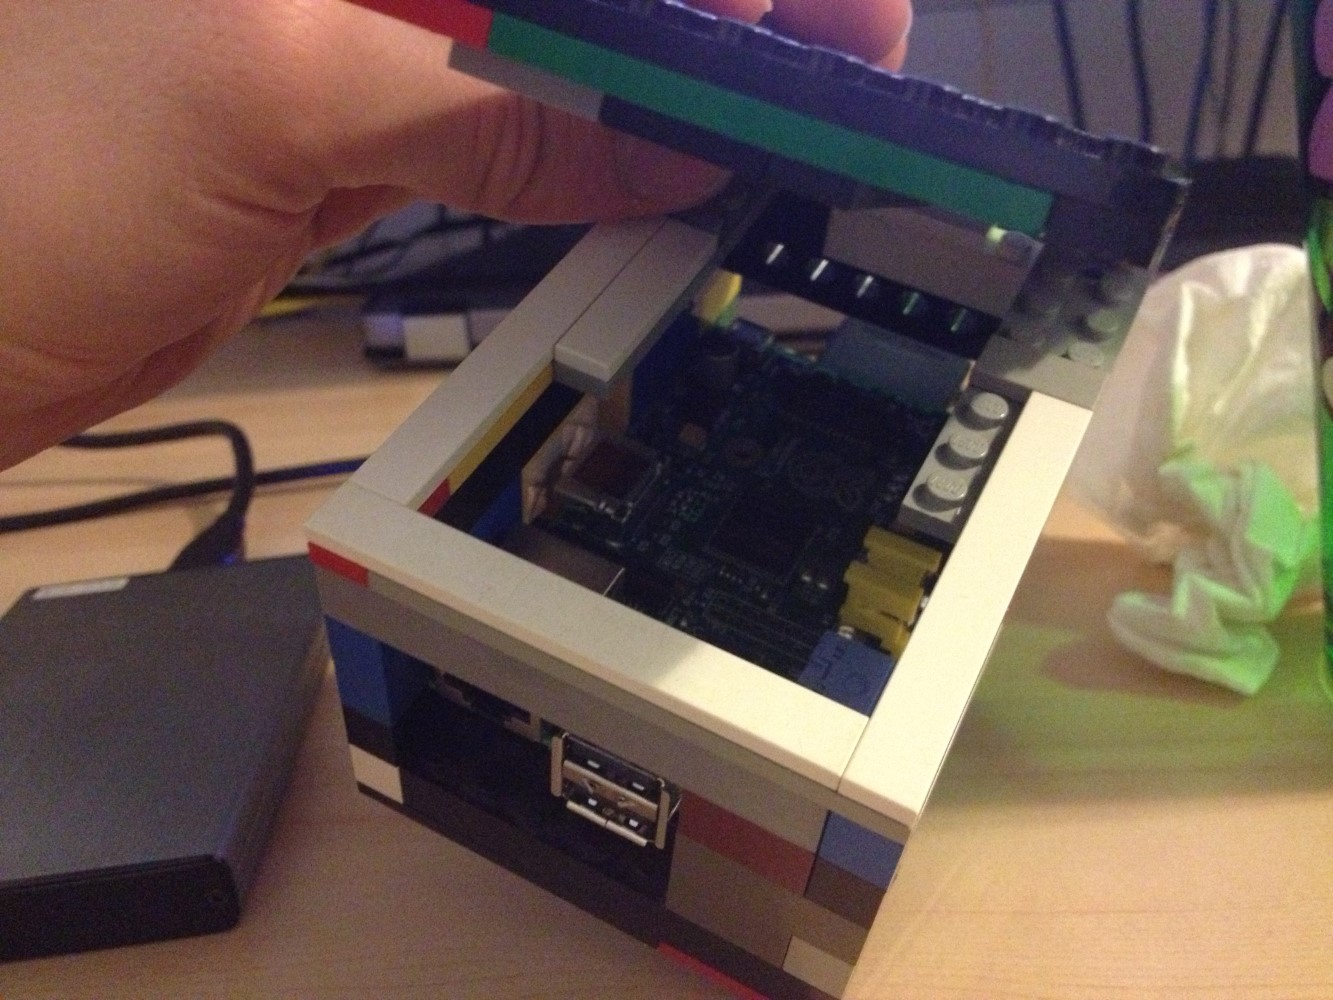
I built my case out of the most flexible block building material on the planet, Legos. I Started with the idea of having accessible holes on every side for easy access to all the ports. I did not care about color in this case as I simply wanted to protect the pi. you cant see very well from the pictures but I have a window in front of the HDMI port and another open window on the other side for some of the other ports.

The inspiration behind this was that I did not like the looks of many of the Raspberry Pi cases for sale and I knew I could harness the raspberry pi in Lego really easily. I was a bit rushed because I built this version on a trip home from my parents house. The raspberry pi is exactly 7 bricks long and a little more that 11 bricks wide. I had to take into account the height of the ports and found these nice hinged blocks that makes it easy to add the lid.
The beauty of using Legos is I can customize it anyway I want to. While this was a good build it is a glorious eyesore in that it has the classic random Lego block look but could use some more coordination. I wish I would have taken a couple more pictures to highlight the port slots. This build laid the groundwork for a the many other Lego builds I have made.