Case for Raspberry Pi 1 Model A Plus Made out of Lego Bricks. This time smaller and in blue.
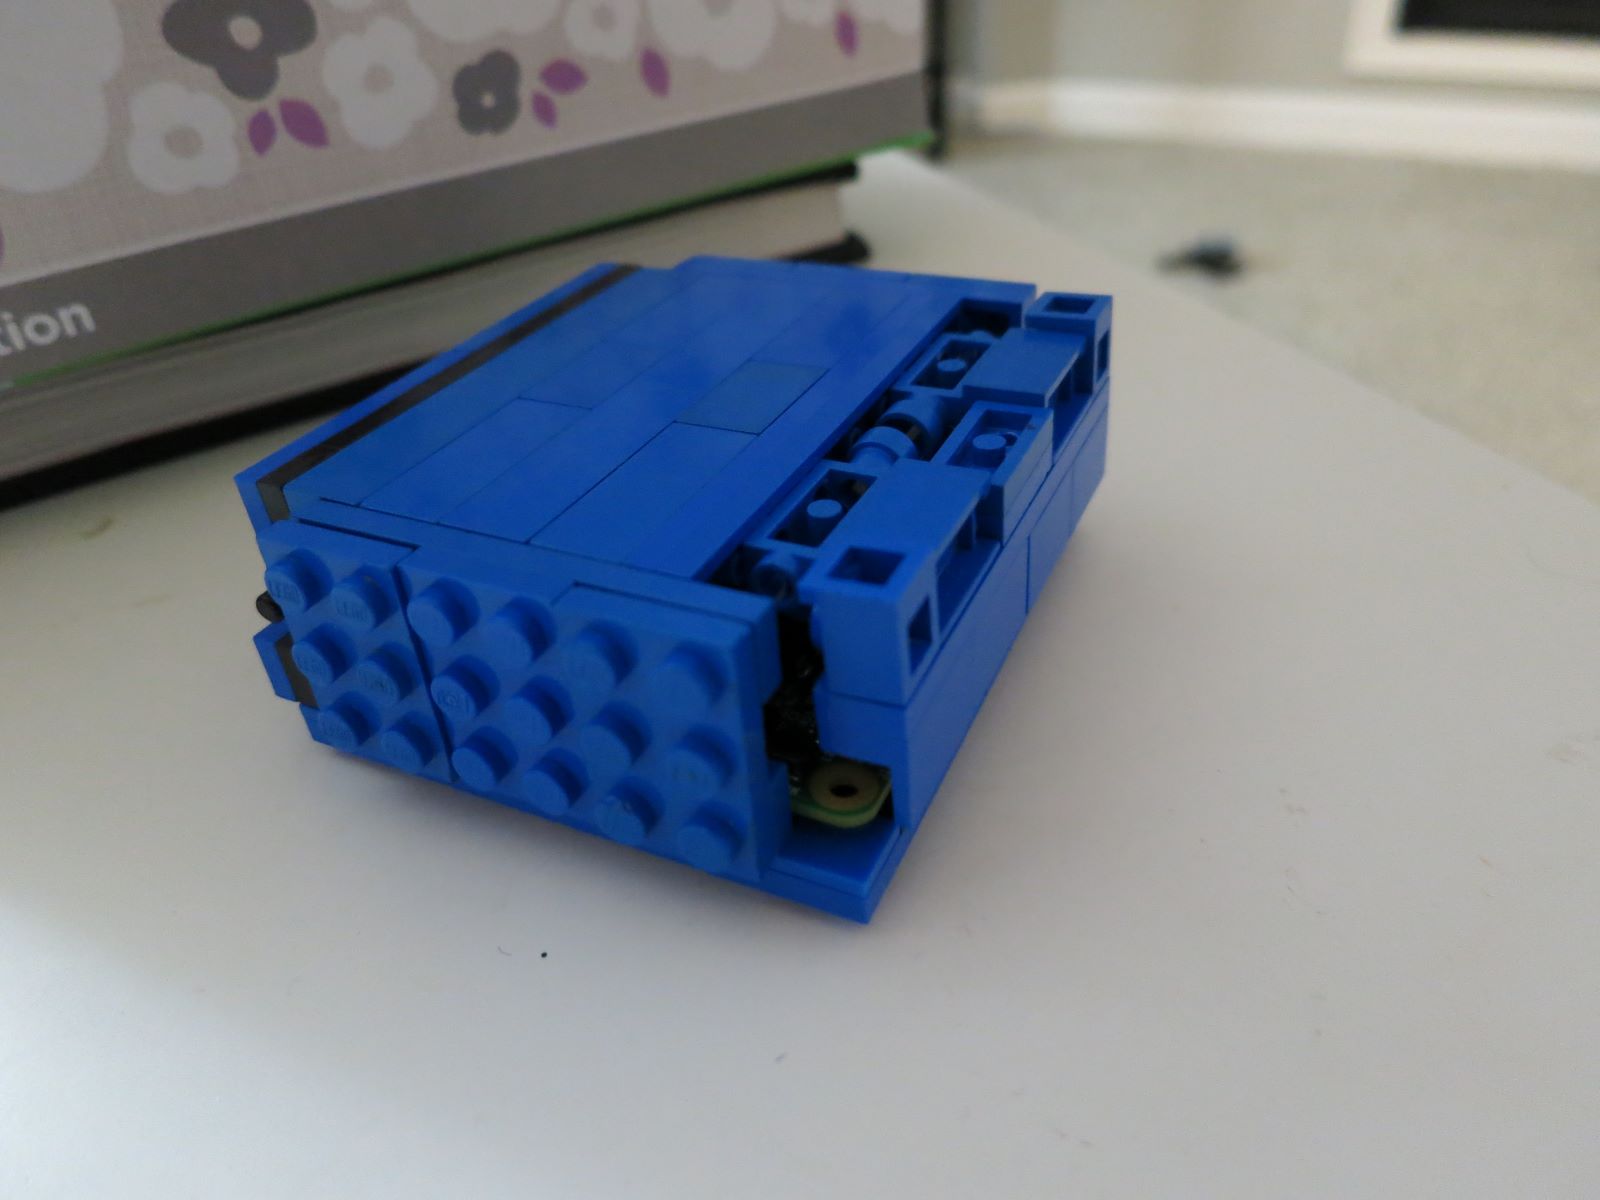
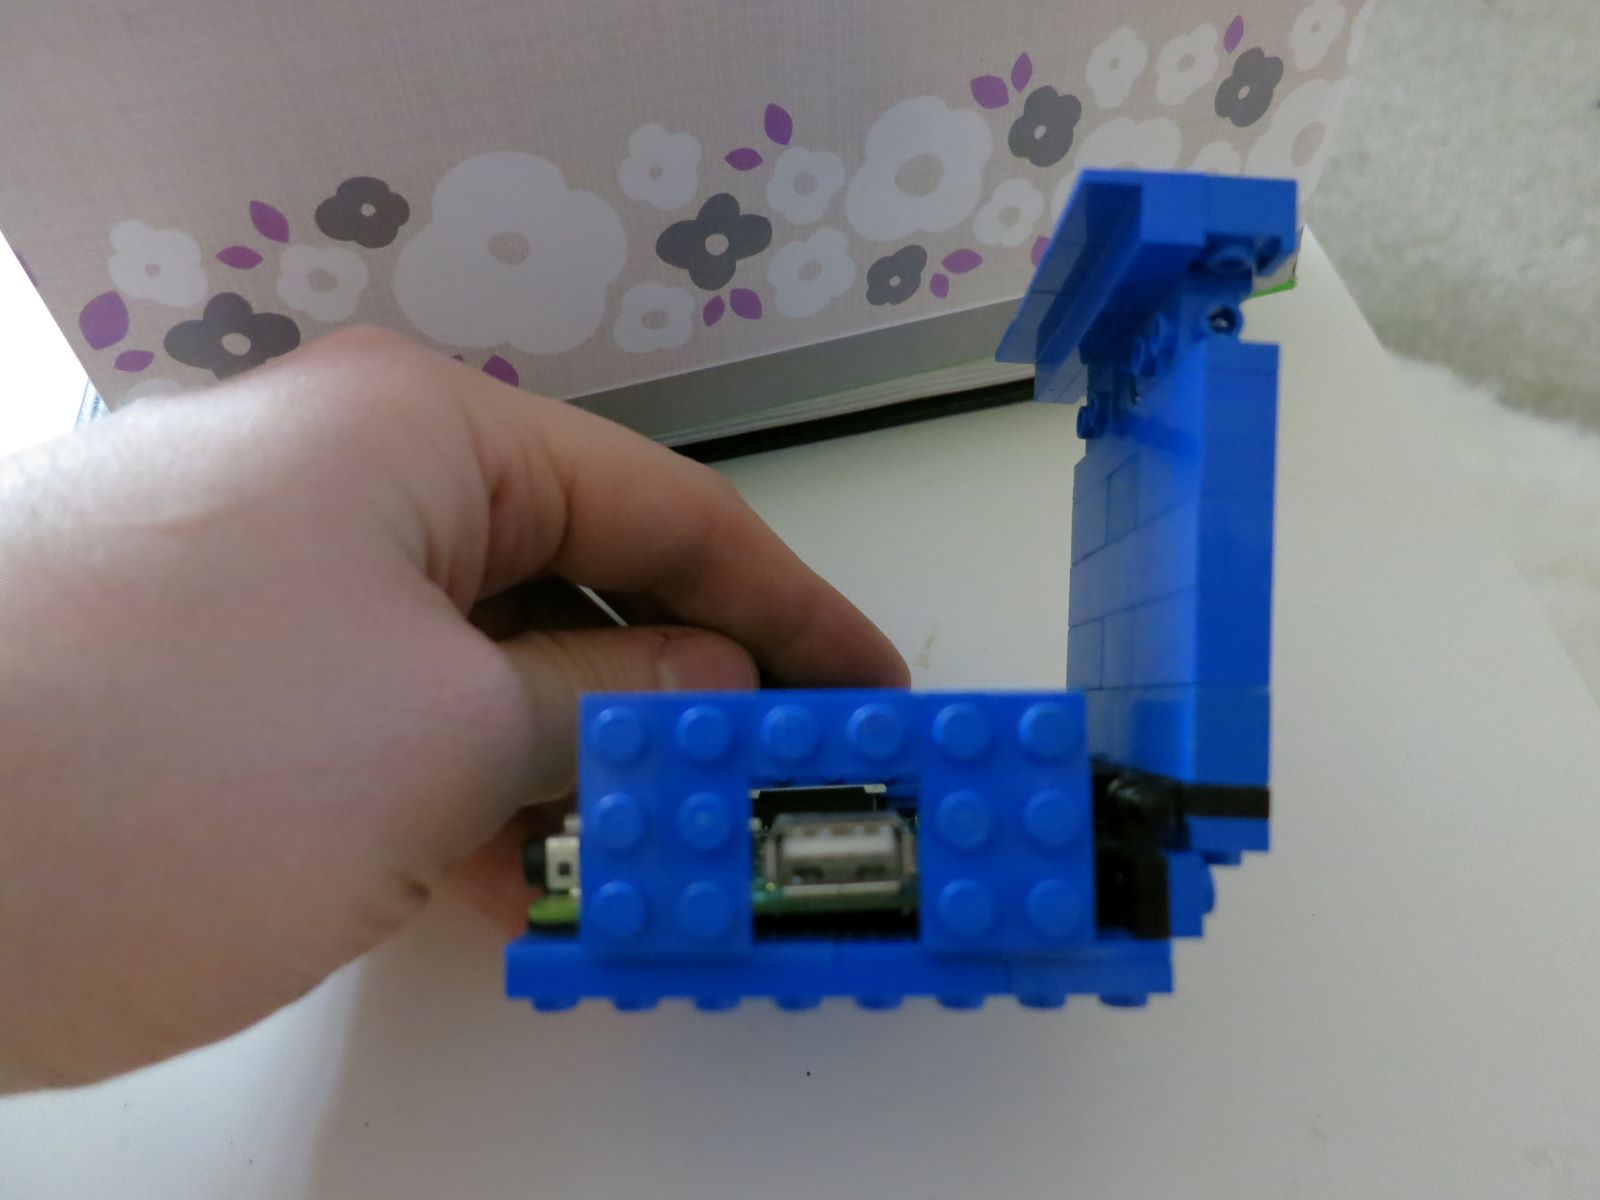
As stated in my Lego built Case for Raspberry Pi 1 Model A Plus post I got a really good deal on 2 of the Raspberry Pi 1 Model A Plus. I wasn't very happy with how that build turned out however. It we bulky and large compared to the compact size of the Model A. I wanted something that was still made of Lego but reflected the small size of Model A.
Case for Raspberry Pi 1 Model A Plus - in Blue
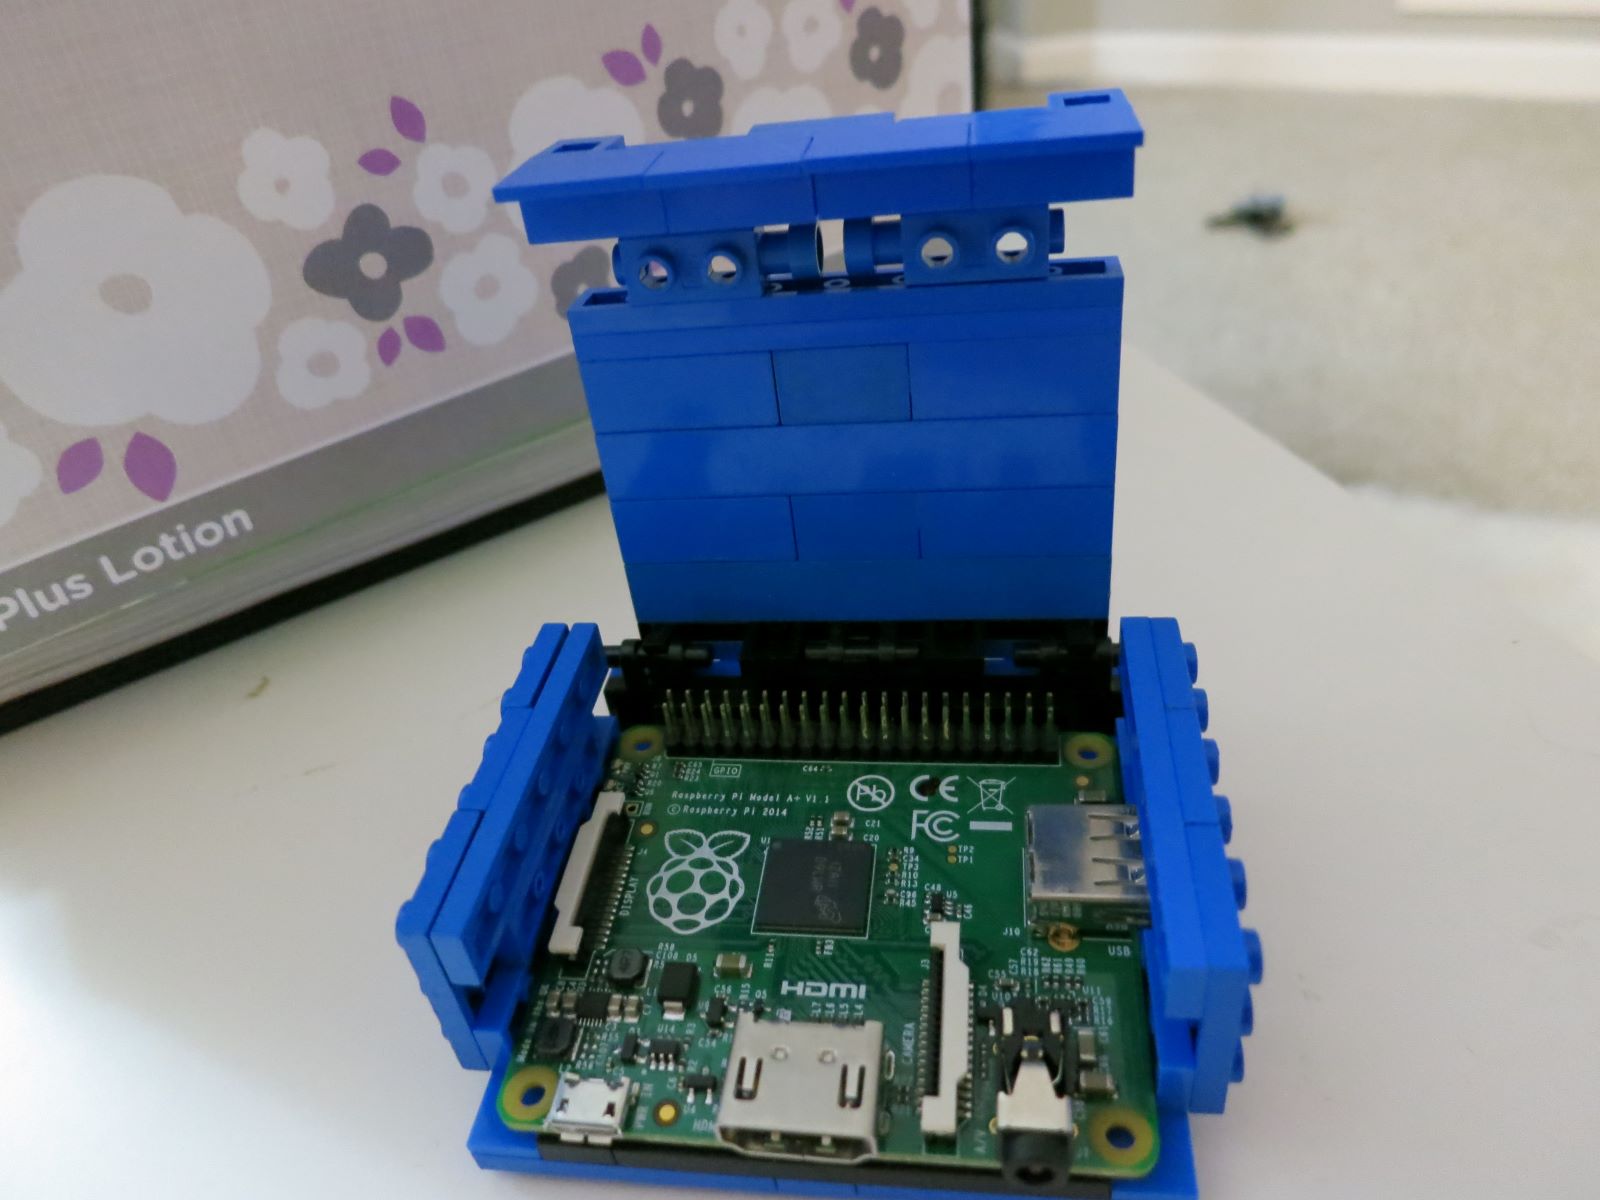
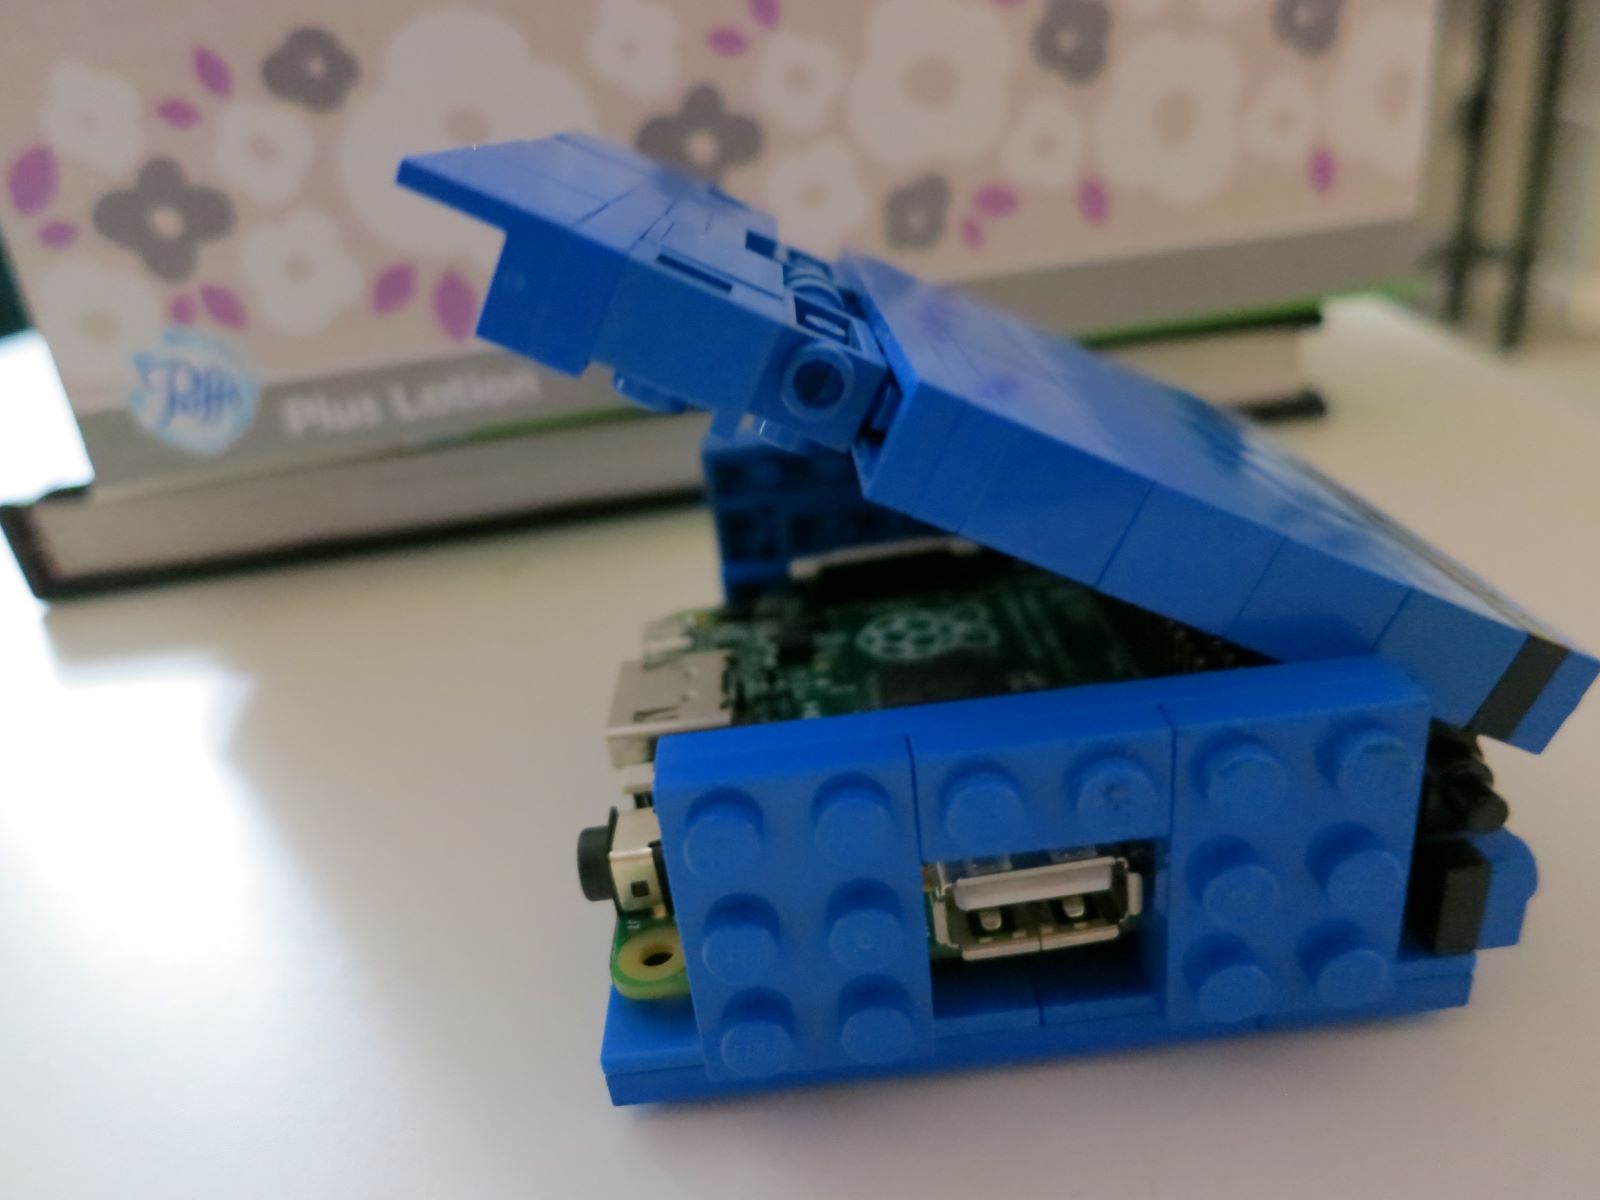
With this creation I was able to apply some of my newly discovered advanced techniques for Lego builders. I used bricks that have studs other than the top of the brick. This is commonly referred to as SNOT (Studs Not On Top) technique. The idea is making every side of the Lego creation flat by using bricks with connectors at a 90 degree angle. This was the first time I took advantage of this technique and I really liked using it. I used a few notable parts. I have listed them here:
- I used this Hinge Brick 1 x 2 in combination with the Panel 1 x 2 x 1 to provide an open and close for the front io such as hdmi and power.
- Using this Brick, Modified with studs on sides is nice decoration but also attached the hinges mentioned above to the top.
- On both sides and the back I am using Bracket 1 x 4 to attach to the bottom.
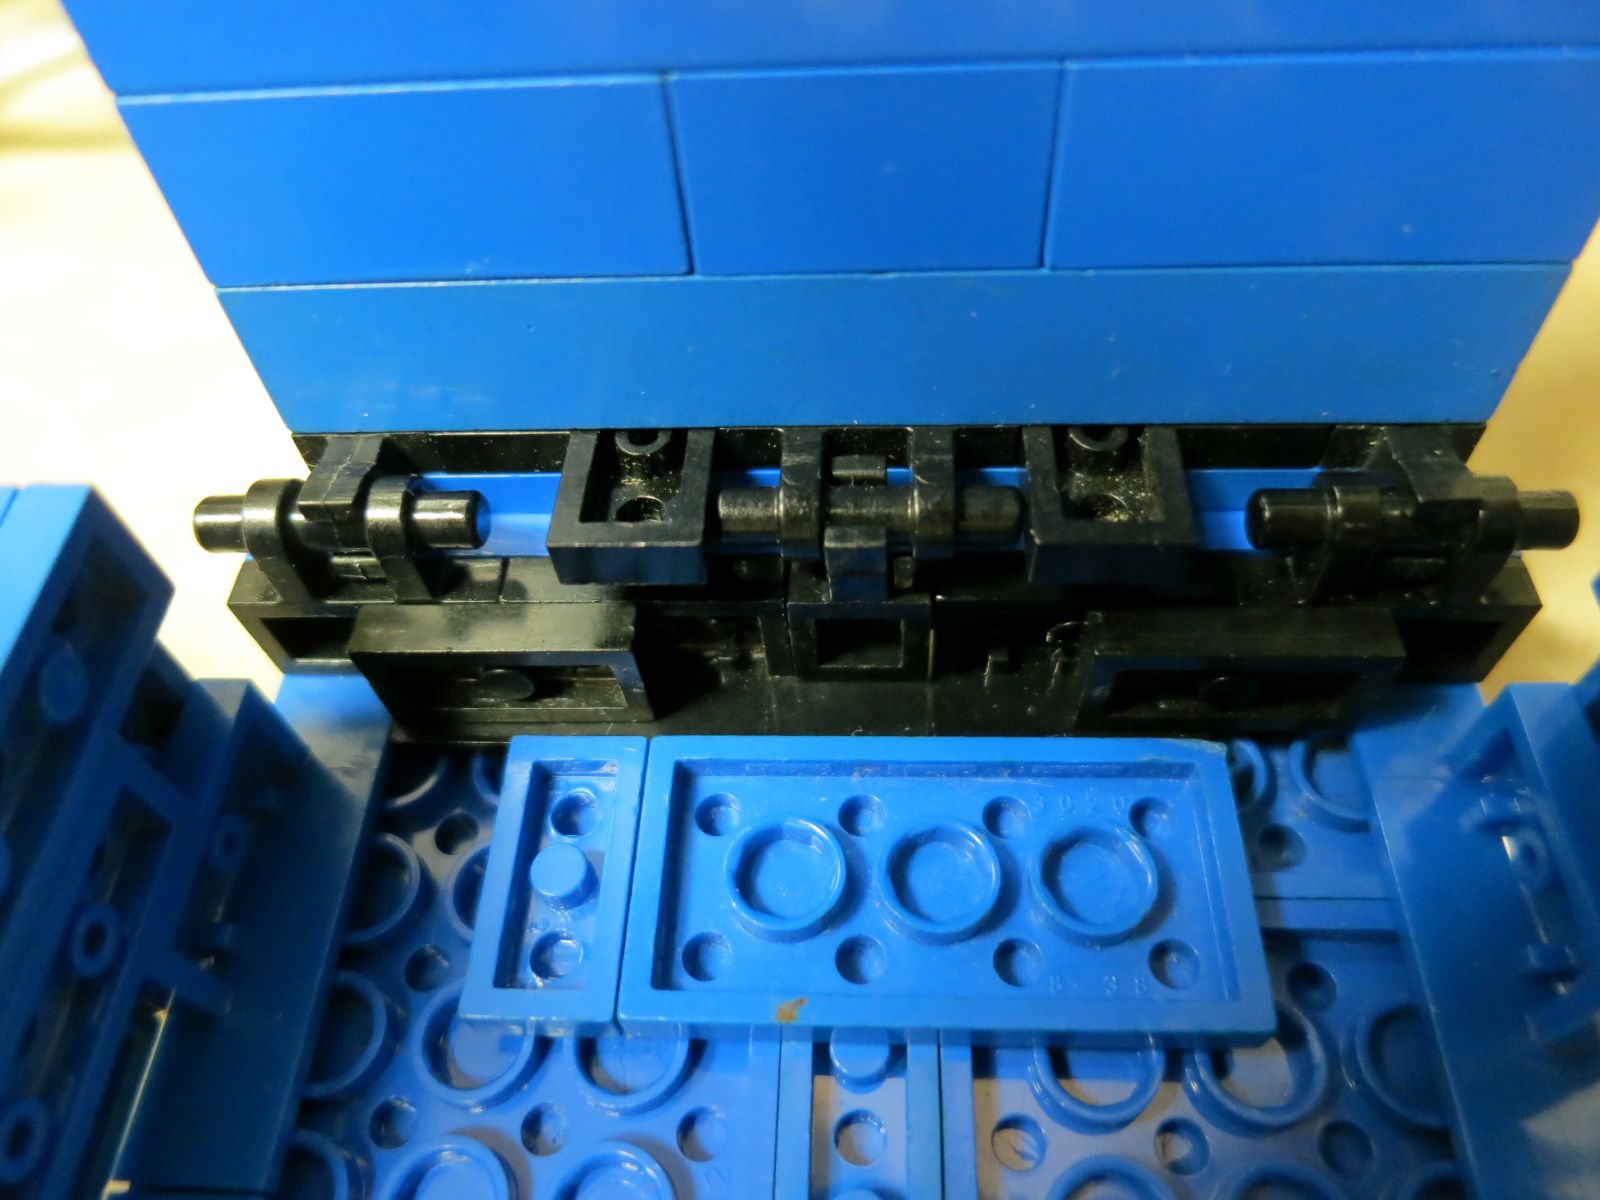
- Finally I form the main hinge (pictured) by including three pairs of Plate, Modified 1 x 2 with handle on side - free ends and Plate, Modified 1 x 1 with U Clip horizontal which form a surprisingly strong hinge for opening and closing the case.
I really like how this turned out especially compared to my other Raspberry Pi Model A case. This case turned out to be very representative of the Raspberry Pi's size itself. I hope to use more SNOT techniques in the future.