My "scientific" approach to frustrations with the lack of accurate bed height adjustment
I had been printing several prints after having my 3D printer for the last 2 and a half months. I was using my M3D my print with clear plastic wrap surrounding the sides, blue painters tape covering the print bed, and Hatchbox white PLA filament at 195 degrees C. I was using the M3D 3-24 v8.3 Windows Software on my Windows 7 laptop. I have performed bed calibrations before but with previous software the bed calibration would navigate to the center and then all four corners to calibrate the correct adjustment. Now the software only deals with the center. This became problematic. Raft print Woes

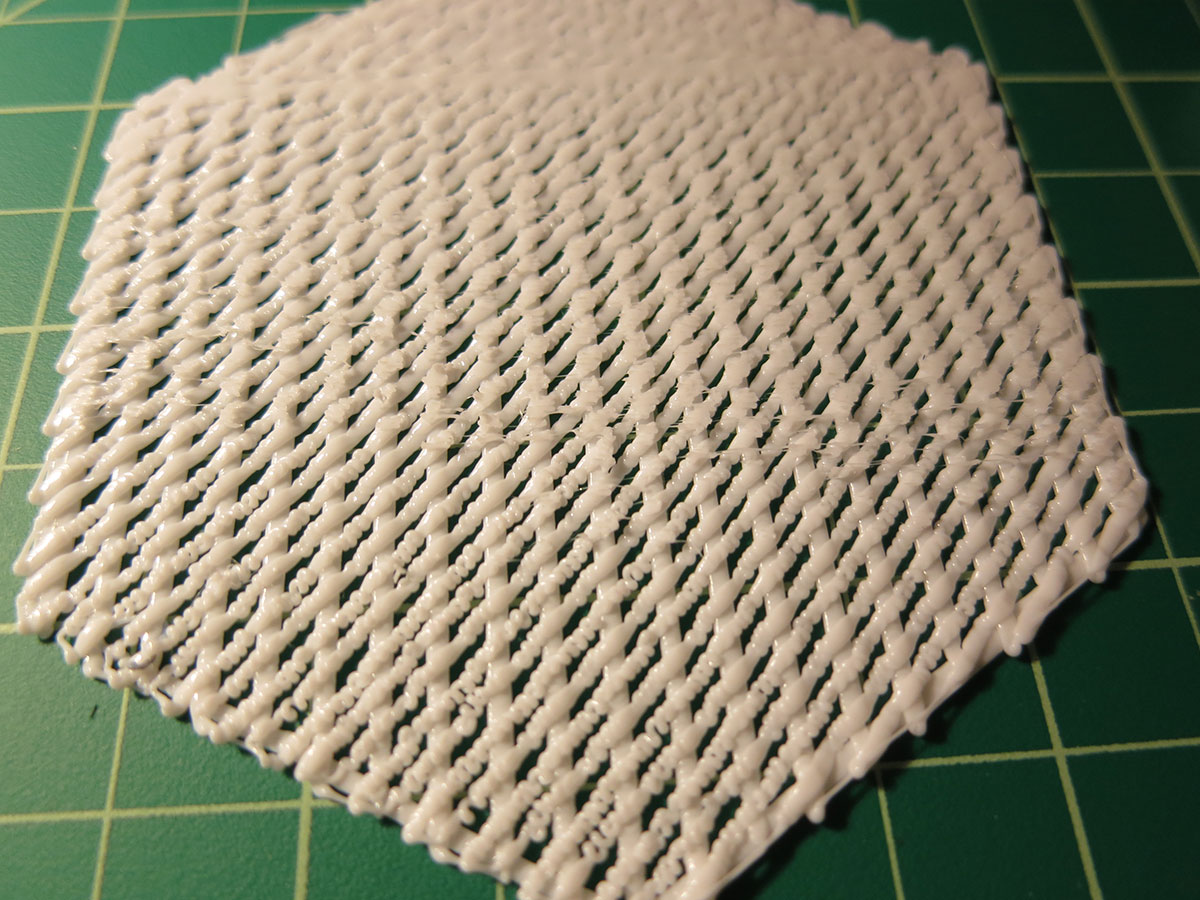
This problem came to my attention because I wanted to print something that took up almost the entire bed. It was my own created model of a Settlers of Catan game hex. I made this hex model using tinkercad, a web based modeling tool. I will go more in depth on the topic of creating 3D models as I gain more experience making more of my own. This model however would not print for me with the settings I describe above. Every time I would print the model would not get past the raft phase of printing. As seen in the picture the printer would get through the raft. it would get to a certain point of the raft and seemingly stop printing. You can see if you look closely to the print the second layer of the raft is very squiggly. Also where the printer doesn't seem to extruding onto the raft for the 3rd very thin layer. Before I canceled the print the printer goes through the motions, oblivious to the fact that no filament was coming out. However if you look closely you can see that the 3rd layer of the raft was printing really stringy.

Finding What is Not the Problem
I researched several things before finding out the uneven bed was the reason this was happening. I first thought it might be a clog in the nozzle so I followed a very simple YouTube guide for how to unclog the nozzle. I performed this on my printer. It was very useful information for when this happens but in my case it was not the problem. After reading the forums one user had the same problem and said that it might be the extruder overheating. It was feasible because I live on the second floor with piss-poor forced air and it got terribly hot the days I was having this problem. I took off the plastic wrap that was surrounding the printer and took it off. This also was not the issue.
I then read someone in a forum talking about the print bed calibration. I did a new print bed calibration hoping that would be all I had to do and boy was I wrong. After the calibration I tried printing the hex for the umpteenth time and got the same results. I decided to try for the first time a .4mm test border, it would not be the last time. I could tell that the .4mm test bed was uneven but I had no accurate was to measure it without calipers. I decided to invest in the handy tool, a tool I had been meaning to get. after a bit of research I ordered a pair on amazon because of one reviewer's review of some of the highly rated amazon calipers

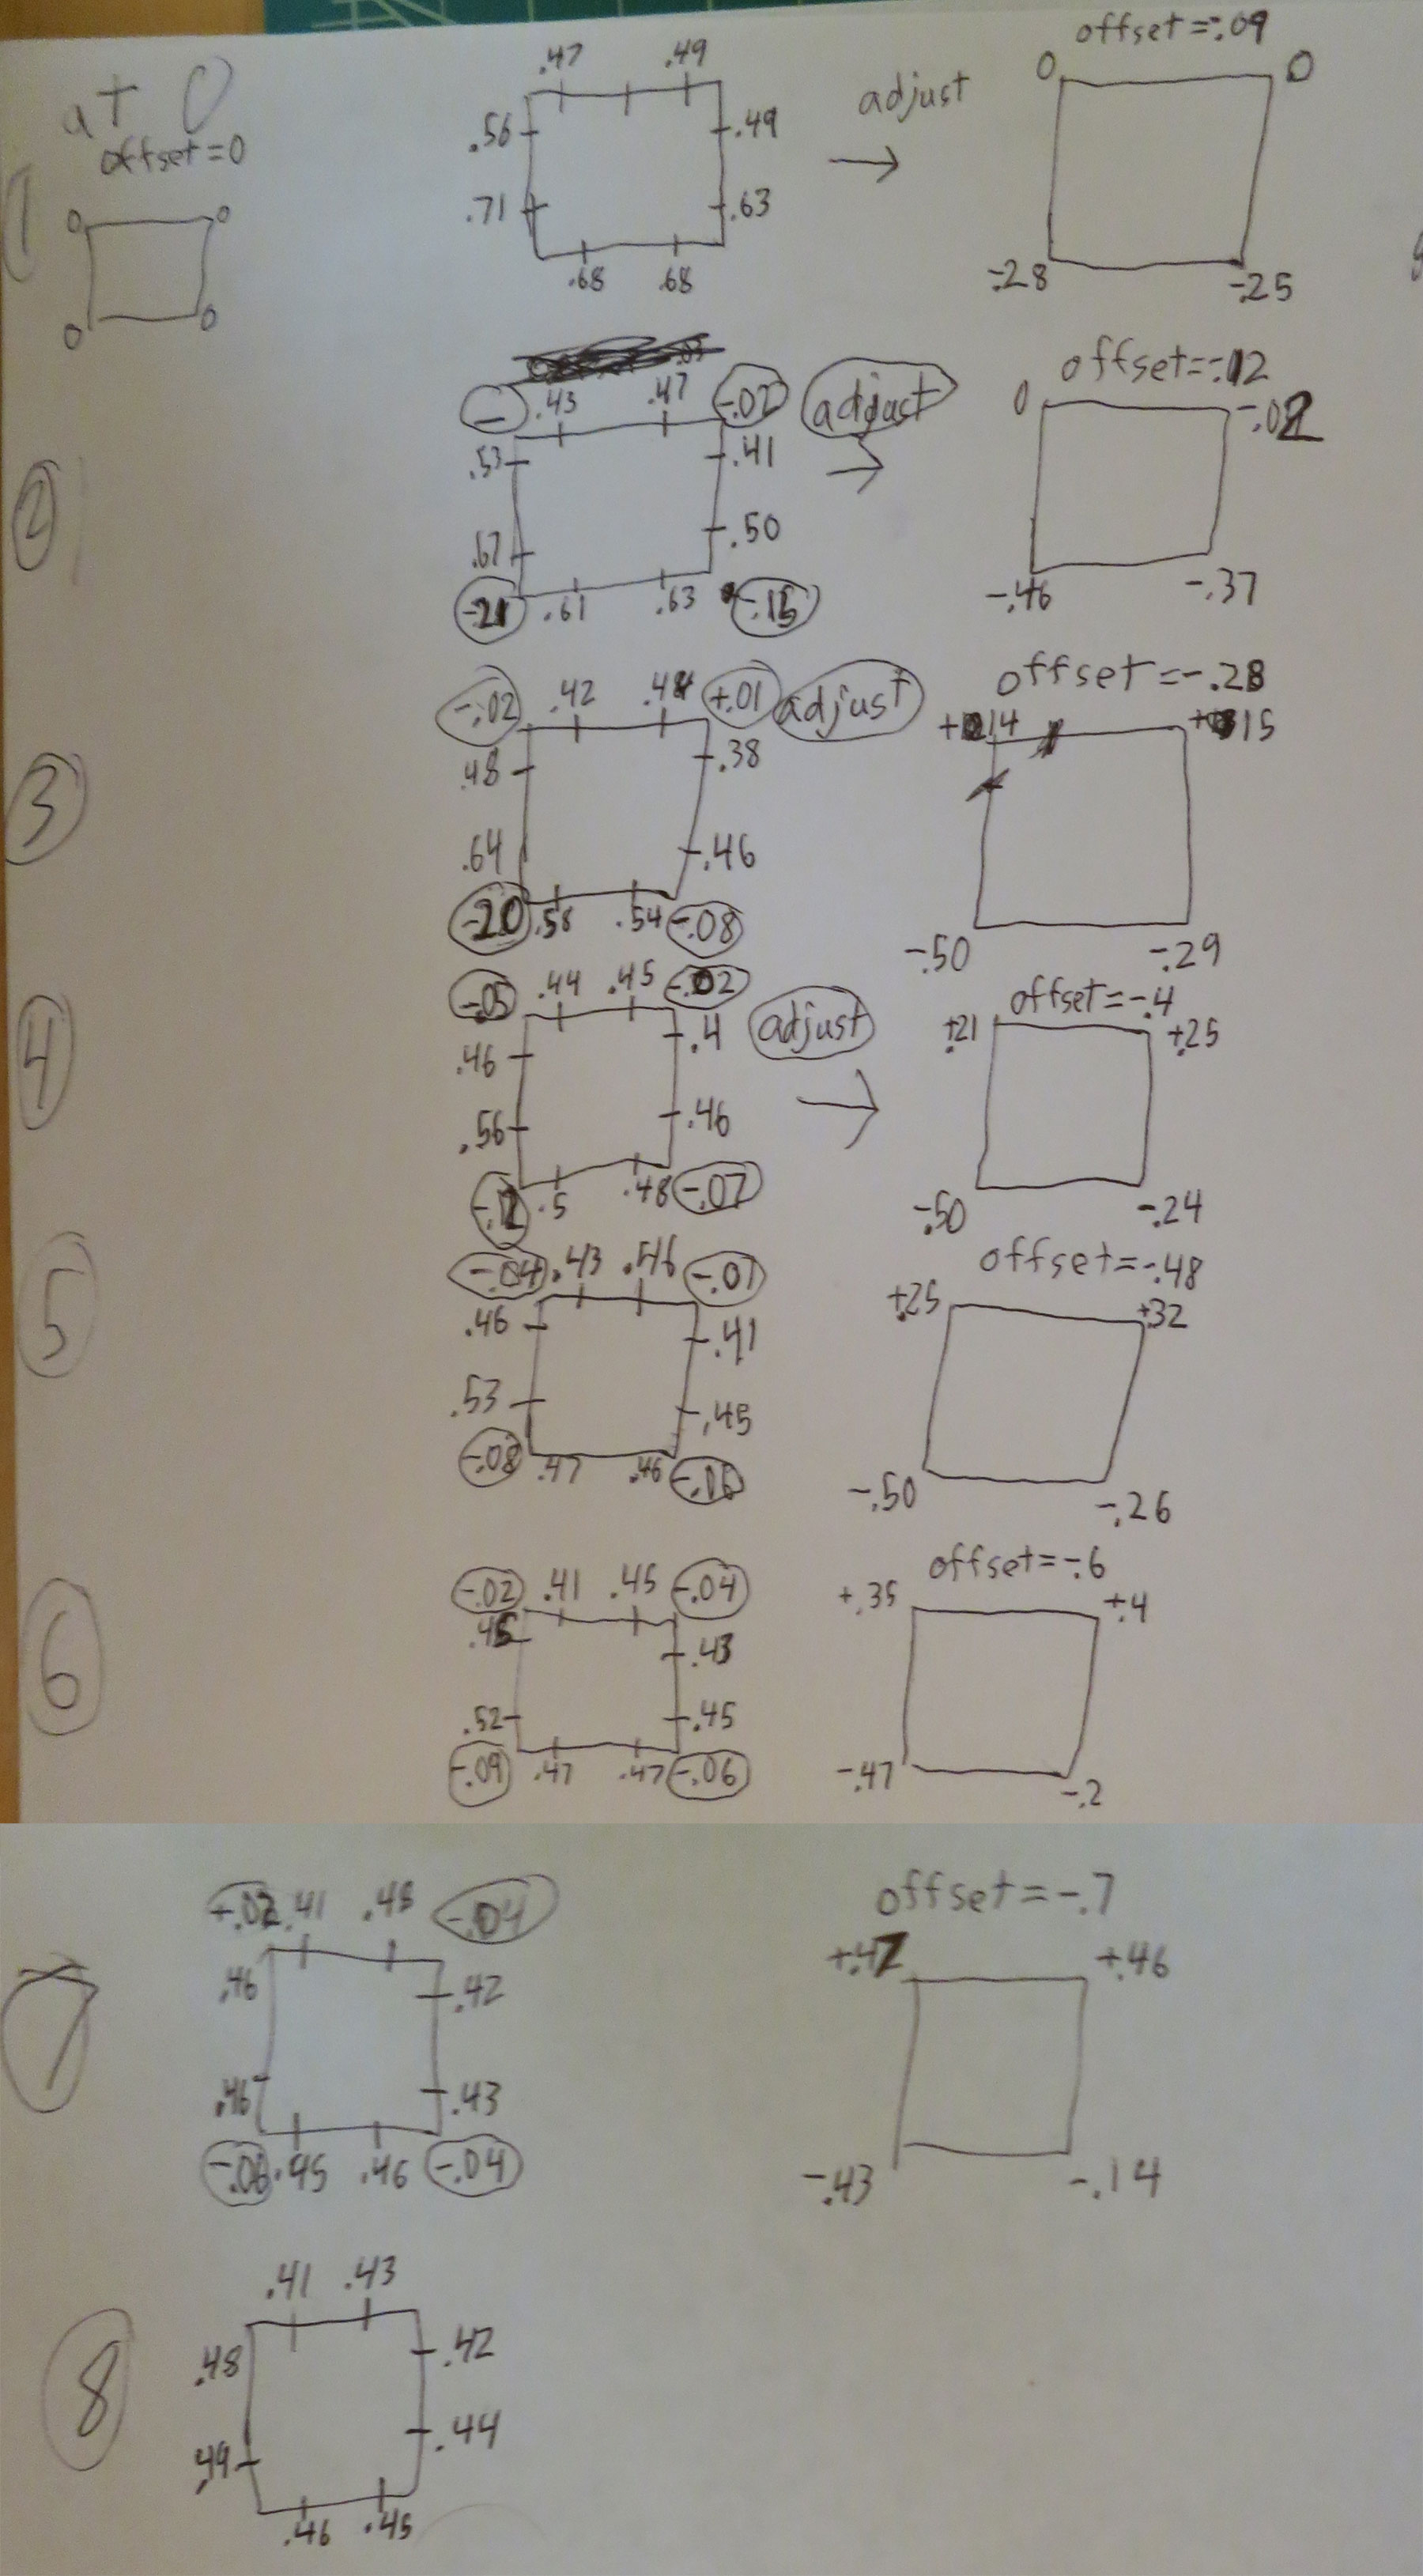
After using the calipers on to measure the sides of the test frame, loosely using a method found on M3D's support page, it was clear that the front of the bed was higher than the rear of the bed. I continued to adjust the bed as a sort of guess and check. I printed 4-7 more test borders in this way with not very good results. I would get closer and then further away. I then made an operation using trial and error with a goal of getting the test border to print out a .4mm border or pretty darn close. You can see my calculations pictured. these are the steps I took.
Steps for bed adjustment process
- Navigate to settings->calibration->Advanced calibration and click perform calibration test. this takes about 10 minutes
- Navigate to settings->calibration->Advanced calibration and click print test bed. This takes 10 minutes to print and you end up with a rectangular print that is supposed to be .4mm tall throughout.
- Use calipers to measure all the way around at each corner. total of 8 measurements (4 corners and 4 sides) write down these measurements like I did (pictured) or another way that makes sense to you.
- Navigate to settings->calibration and using your best judgement based on how far the measurements are away from .4mm decide what you want your adjustment to be. (example measurements rear-left=.5 and.52 I would adjust rear-left bed to -.11)
- write down your adjustment and repeat steps 2-3 until test border is reading .4mm.

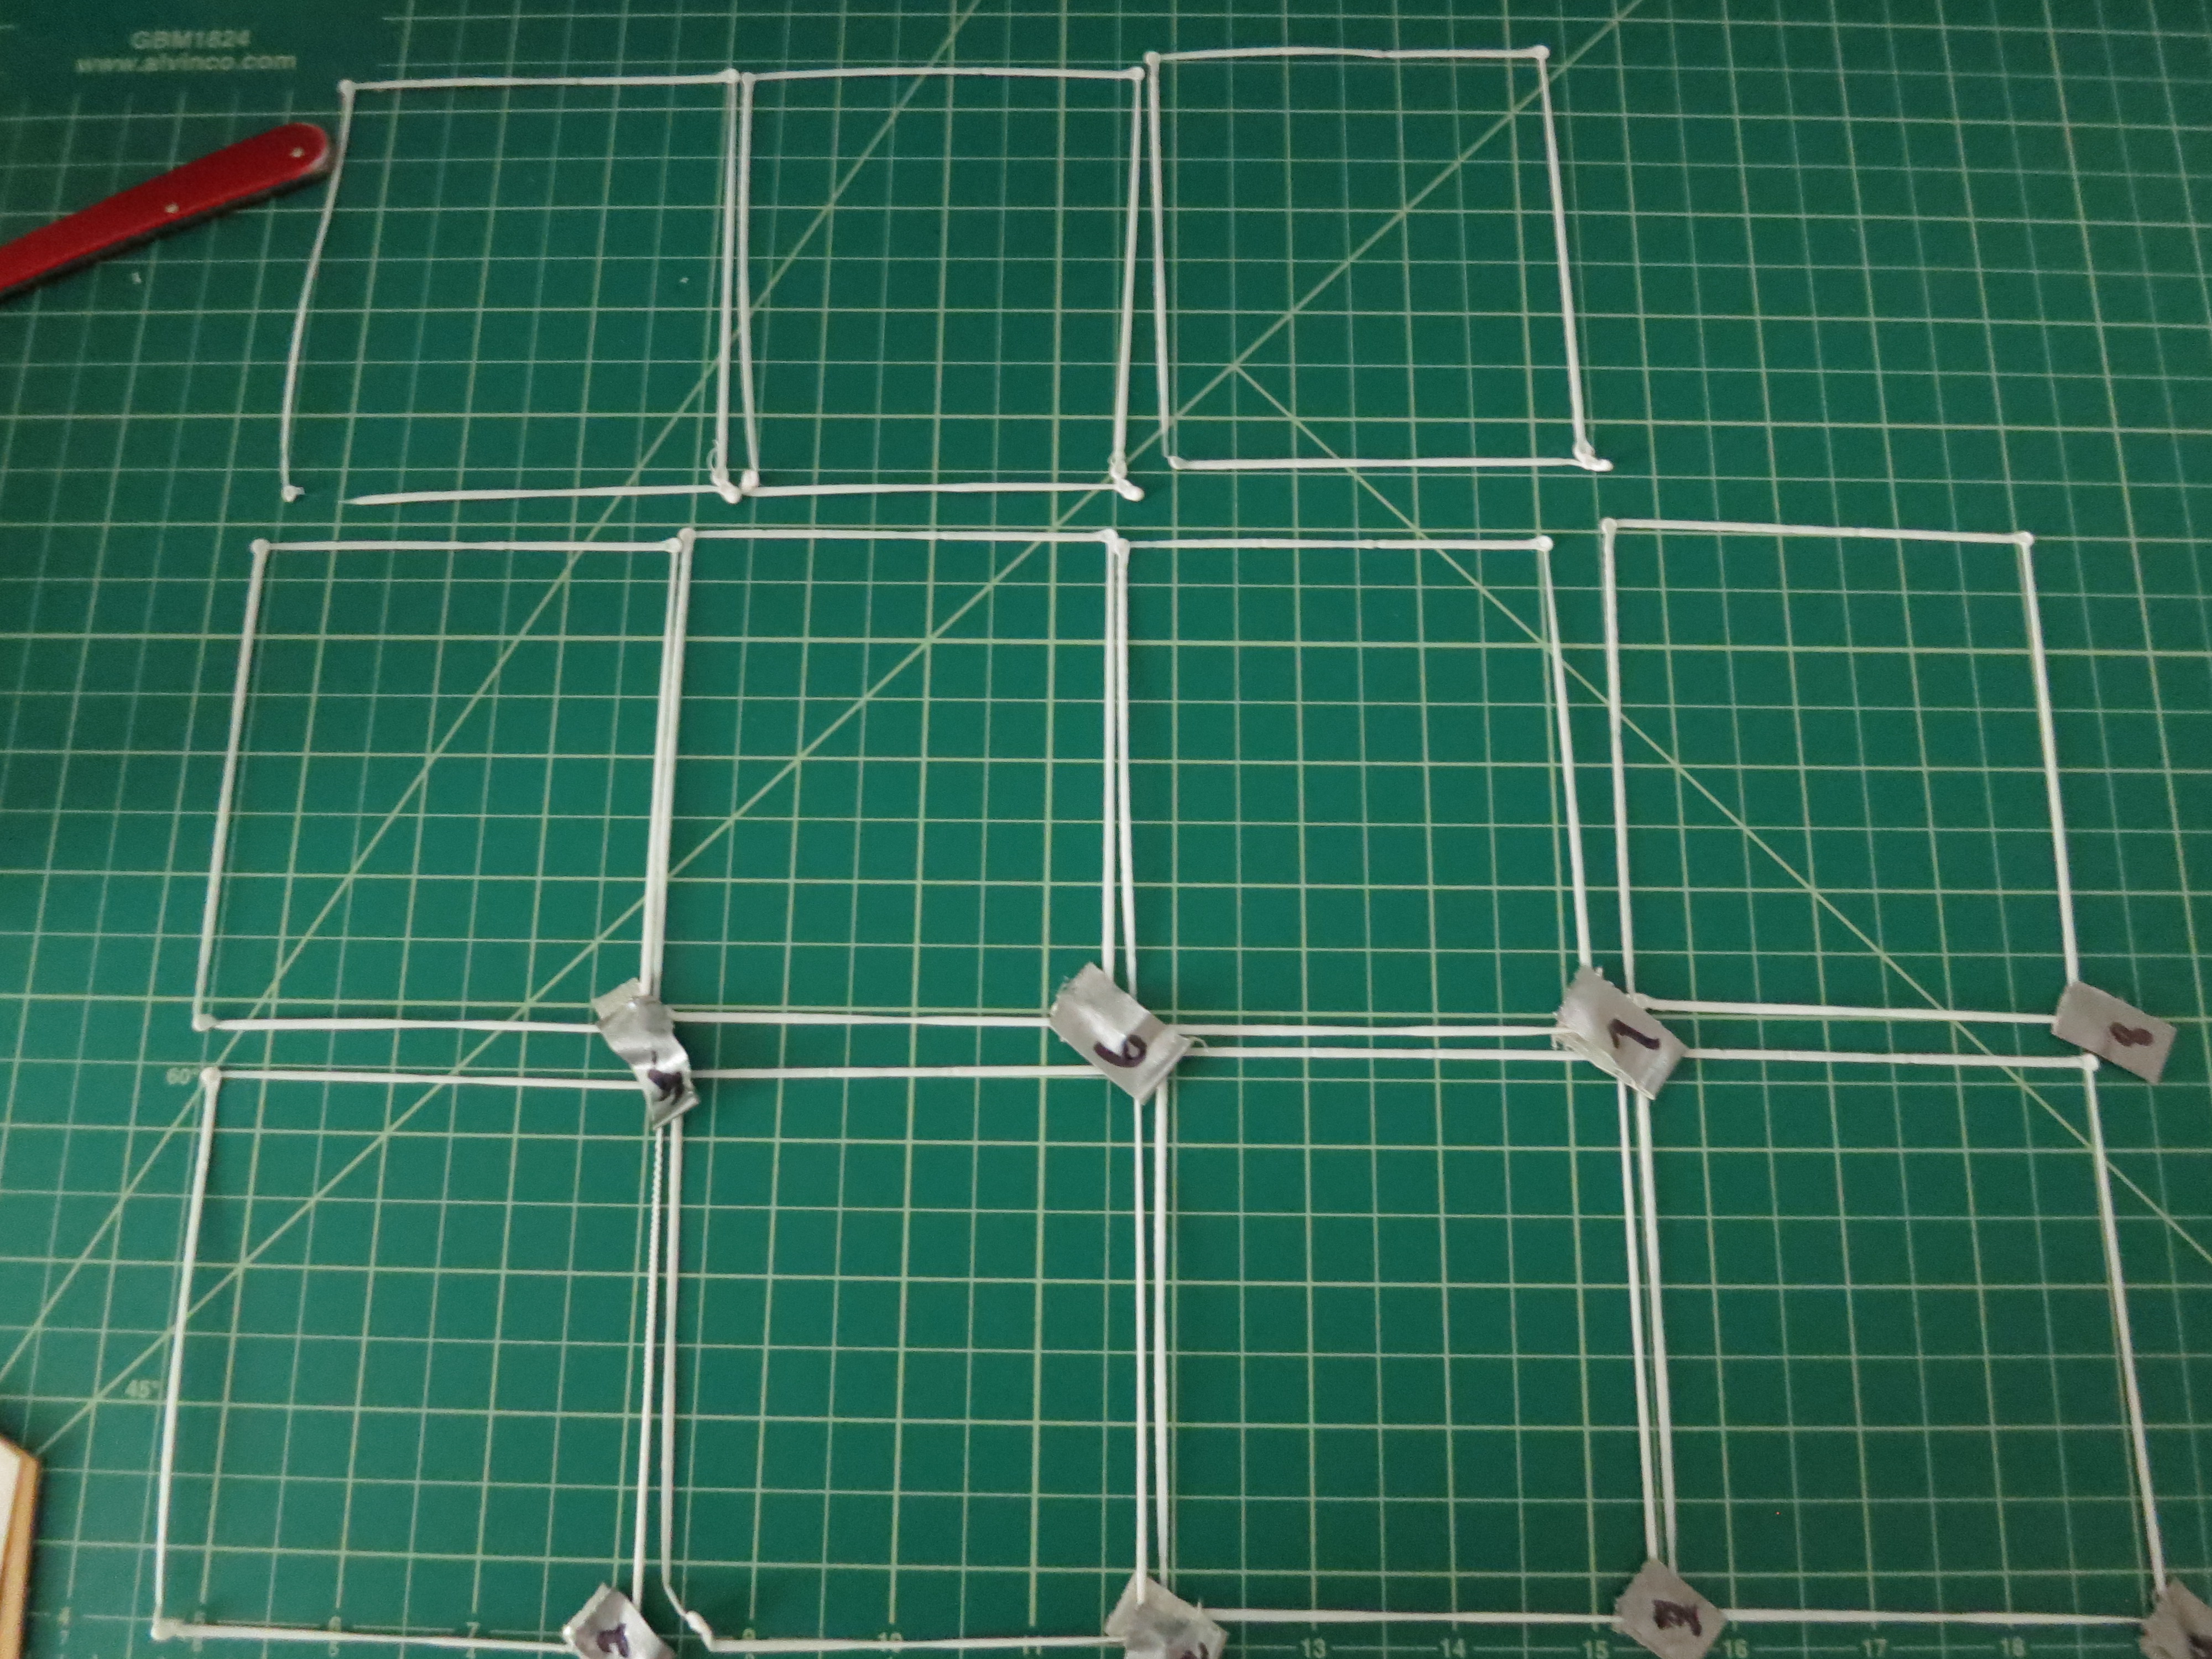
It took me 8 repetitions and I still wasn't getting anywhere near spot on but I was a little sick of this terribly manual and tedious process however I made marked progress that was sufficient. You can see my print borders here on the page. Sometimes it would get so low to the bed it would botch up or not have room to extrude. While other times it would be so far away it would squiggle up or be visibly bigger.

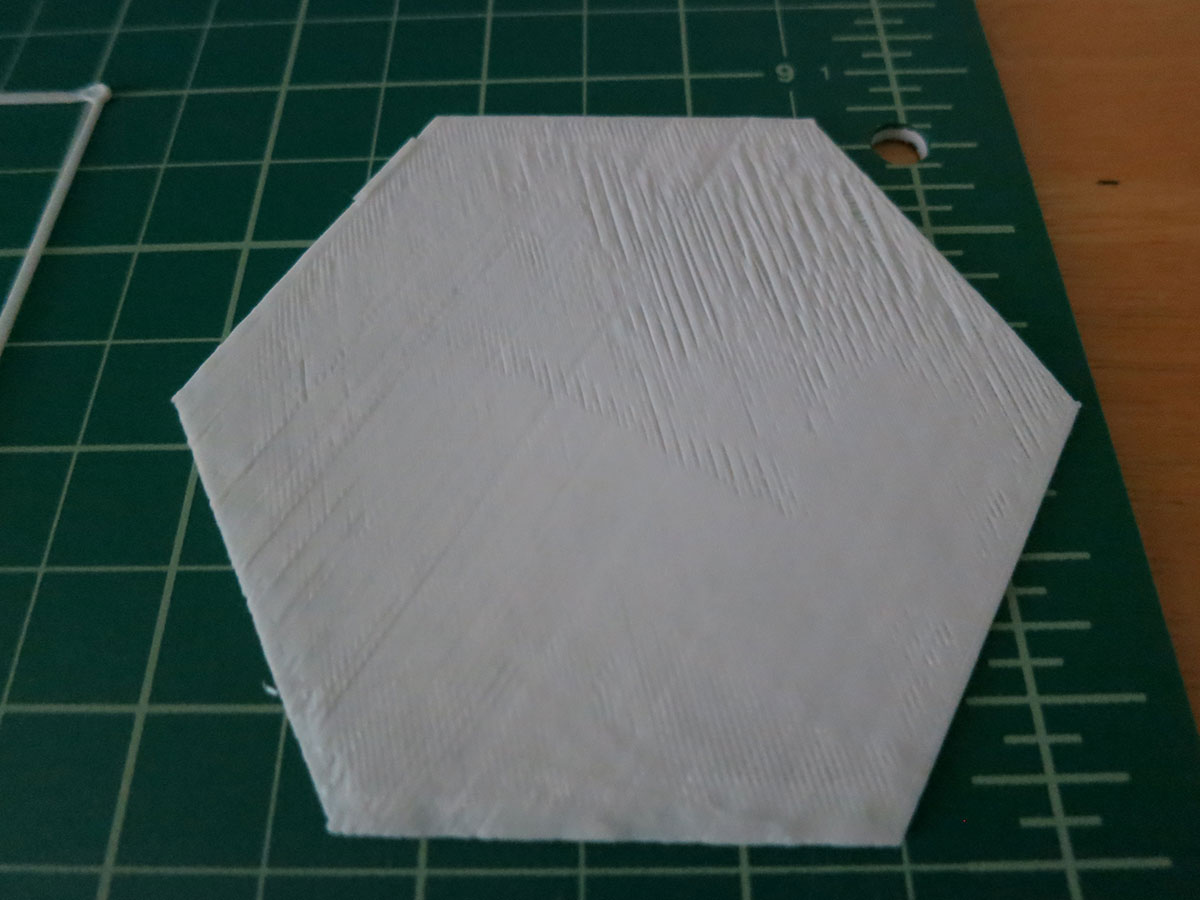
All this work did end up paying off because when I printed the model I made it printed without any issue.
Calibration Undead
My issue came back when I switched filaments and meant to perform a print test border but accidentally clicked re-calibrate. this erased my previous settings and I had to do the process over again. But I got to the same end with the new filament and when I did switch back to the other filament it did not need to be changed again.